
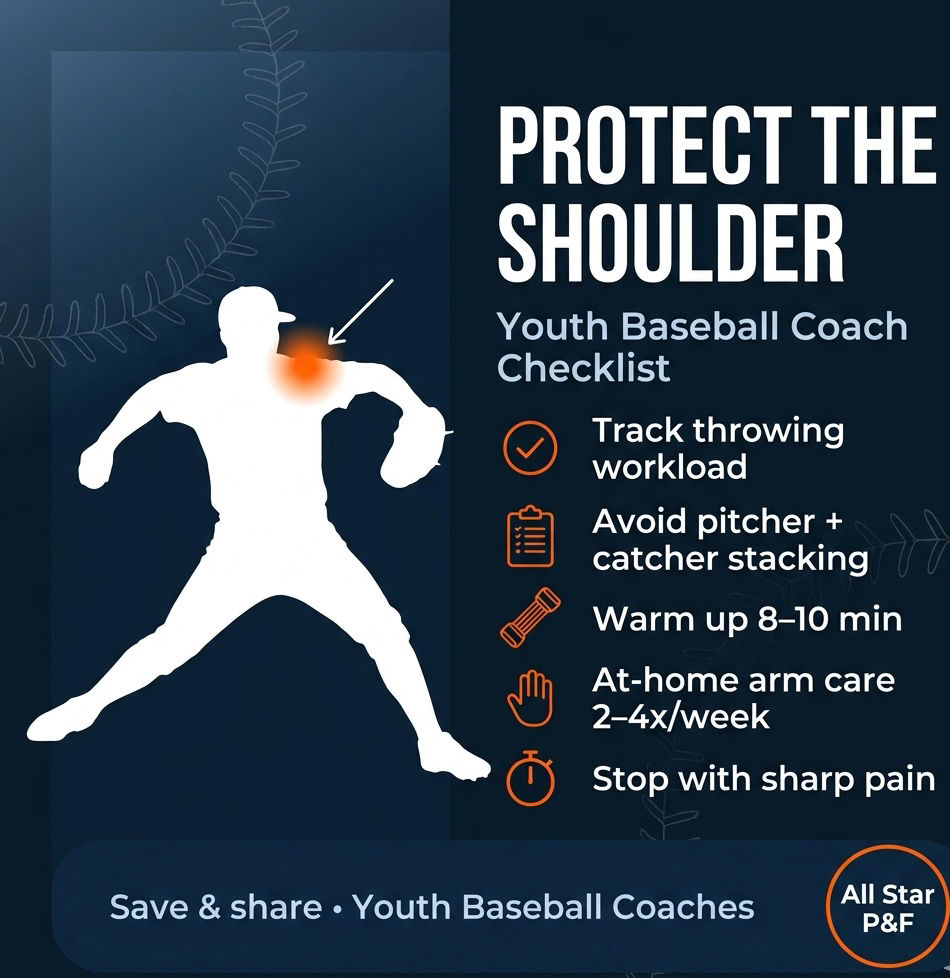
Youth Baseball Shoulders: Preventing Injuries for Young Athletes
Updated: May 6
Understanding Youth Baseball Shoulder Injuries
Youth baseball shoulders don’t get hurt from one bad throw. Instead, injuries often result from too many throws, insufficient recovery, and poor movement quality. As a coach, I can dramatically lower injury risk by managing workload, teaching better mechanics, and building simple shoulder-friendly strength habits that players can do at home.
Why Youth Baseball Shoulders Get Injured
Most throwing-related shoulder issues in young athletes stem from a few predictable factors:
Overuse (volume + intensity): Too many high-effort throws, too many days in a row, or pitching plus catching/long toss without tracking total throws.
Poor recovery: Not enough sleep, hydration, or rest days—especially during tournaments.
Weakness where it matters: Scapular (shoulder blade) control, rotator cuff endurance, and posterior shoulder strength.
Limited mobility in the wrong places: A stiff thoracic spine (upper back) and hips force the shoulder to “make up” motion.
Throwing while fatigued: Mechanics break down, and stress shifts to the shoulder and elbow.
Coach’s Checklist: The Biggest Protectors
Use these as your “non-negotiables” during the season:
1. Track Throwing Workload (Not Just Innings)
Innings don’t tell the whole story. Warm-ups, bullpen sessions, long toss, and playing multiple positions all count. If you can’t count every throw, at least track:
Pitch counts (game + bullpen)
Days thrown in a row
High-intent days (max effort)
2. Avoid “Stacking” High-Throw Roles
A common injury setup occurs when a player pitches and catches in the same day or week. If a player pitches, consider limiting catching and high-volume long toss that week.
3. Build in Recovery Days
Shoulders need low-throw or no-throw days. Plan practices so that not every session is a high-volume throwing day.
4. Teach Players to Report Soreness Early
Normalize this language:
“Tight is okay; sharp pain is not.”
“Soreness that lasts into the next day is a red flag.”
“Pain that changes mechanics is an automatic stop.”
5. Warm Up the Right Way
A good warm-up raises temperature and prepares the shoulder blade, cuff, trunk, and hips. Static stretching alone isn’t enough.
Simple “Shoulder-Safe” Warm-Up (8–10 Minutes)
Use this before throwing:
Jumping jacks or light jog – 60–90 seconds
Arm circles (small to big) – 10 forward / 10 backward
Scap push-ups (straight arms, move shoulder blades only) – 2×10
Band pull-aparts – 2×12
Band external rotations (elbow at side) – 2×10 each arm
Hip hinge + reach (hamstrings + upper back) – 6 reps
Easy catch progression: start close, low effort, gradually increase distance and intent.
At-Home Shoulder Injury Prevention Routine (2–4x/Week, 12–15 Minutes)
These are safe, equipment-light exercises focused on the rotator cuff, scapular control, and posture—key for throwers. Players should feel muscle burn, not joint pain.
1. Side-Lying External Rotation (Rotator Cuff)
Lie on your side, elbow tucked to ribs, forearm across your belly.
Rotate your forearm up slowly, pause, and lower slowly.
2–3 sets of 10–15 per side.
A light dumbbell or even a water bottle works.
2. Prone “T” and “Y” Raises (Scapular Strength)
Lie face down (on a bed or floor), thumbs up.
T: arms out to the side; Y: arms overhead at 45°.
Lift with your shoulder blades, not your neck.
2 sets of 8–12 each.
3. Band Pull-Aparts (Posterior Shoulder + Posture)
Arms straight, pull the band apart to your chest.
Keep ribs down; don’t shrug.
2–3 sets of 12–20.
4. Wall Slides (Serratus + Upward Rotation)
Back to the wall, elbows/wrists on the wall if possible.
Slide arms up while keeping ribs down.
2 sets of 8–12.
5. Scap Push-Ups (Shoulder Blade Control)
Push-up position (knees okay).
Keep elbows locked; pinch shoulder blades together then push the floor away.
2 sets of 10–15.
6. Sleeper Stretch or Cross-Body Stretch (Posterior Shoulder Mobility)
Pick one (don’t force range):
2×20–30 seconds per side.
Stop if it causes pinching in the front of the shoulder.
Optional (High Value): Thoracic Spine Opener
Open books (lying on your side, rotate upper back) – 6 reps per side.
A mobile upper back reduces stress on the shoulder during throwing.
Coaching Cues That Protect the Shoulder
You don’t need to overhaul mechanics to reduce risk. These simple cues help:
“Use your legs.” Power should come from the ground up, not just the arm.
“Finish balanced.” Falling off to the side often increases shoulder stress.
“Smooth is fast.” Max-effort throwing all the time is a recipe for overload.
“Stop if pain changes your throw.” Pain plus altered mechanics equals high risk.
Red Flags: When to Shut It Down and Refer Out
If a player experiences any of the following, stop throwing and get evaluated:
Sharp pain during throwing.
Pain that lasts into the next day or worsens each session.
Loss of velocity/control with pain.
Numbness/tingling.
Visible change in arm slot due to discomfort.
A Simple Weekly Plan for Youth Teams
2–4 days/week: At-home shoulder routine (12–15 min).
Practice days: Structured throwing with gradual build-up.
1–2 low-throw days/week: Focus on hitting, fielding footwork, speed/agility.
Tournament weeks: Reduce extra throwing outside games.
Closing Thoughts
Healthy shoulders aren’t built by “toughing it out.” They’re built by smart workload management, consistent recovery, and a few targeted strength habits. If you implement the warm-up and at-home routine above, you’ll give your players a major advantage: more availability, better performance, and fewer missed seasons.
If you want, tell me the age group you coach (e.g., 10U, 12U, 14U) and whether your players have bands/dumbbells at home, and I’ll tailor the routine and weekly throwing plan.


Comments